

Skype for Business Server 2019 deployment Step-by-Step – Part -2
In this section (Part-2) , we are going to cover step-by-step deployment of Skype for Business Server 2019 Public Preview edition Administrative tool installation.
In the Part-1 we have prepared the base OS and Installed the Skype for Business Server 2019 dependencies.
Just to start with, please mount the Skype for Business 2019 Preview server iso.
If you have not already downloaded, you may find it here Skype for Business Server 2019 Evalution Download
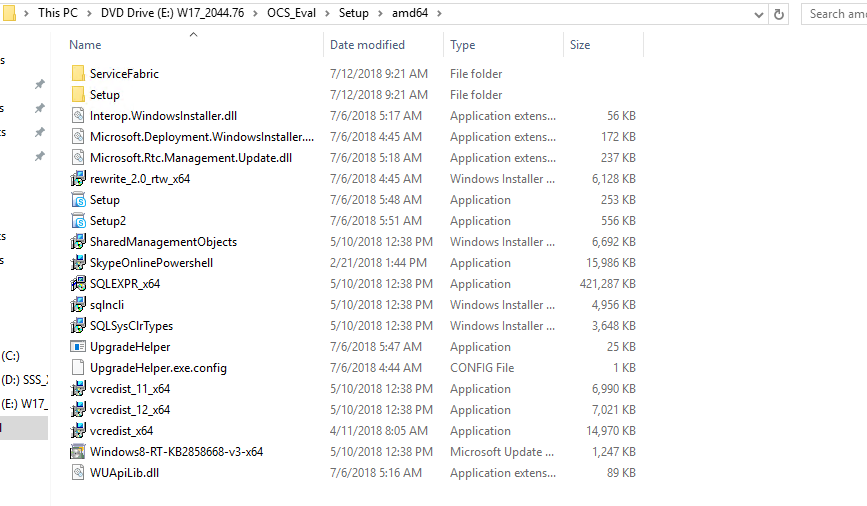
Once ISO mounted, locate the setup files:
Run the Setup.exe, it will open Skype for Business Server 2019 deployment wizard and may ask you to select installation location and your choice to check for updates. I choose not to check updates and default installation location:

Click on Install button.
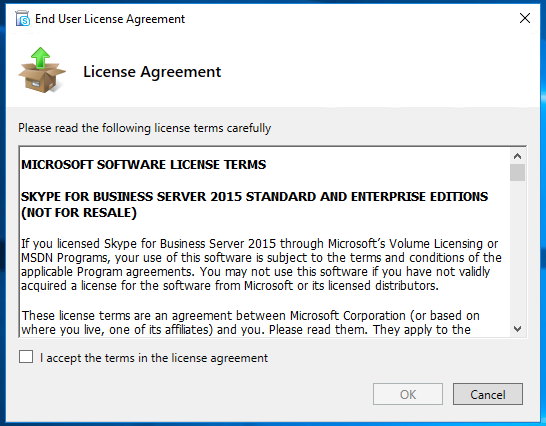
Here we have End User License Agreement page, where Microsoft have mentioned terms conditions etc associated with this software, please read carefully and if you wish to proceed further click on the check box before “I accept the terms in the license agreement” and click on OK button:

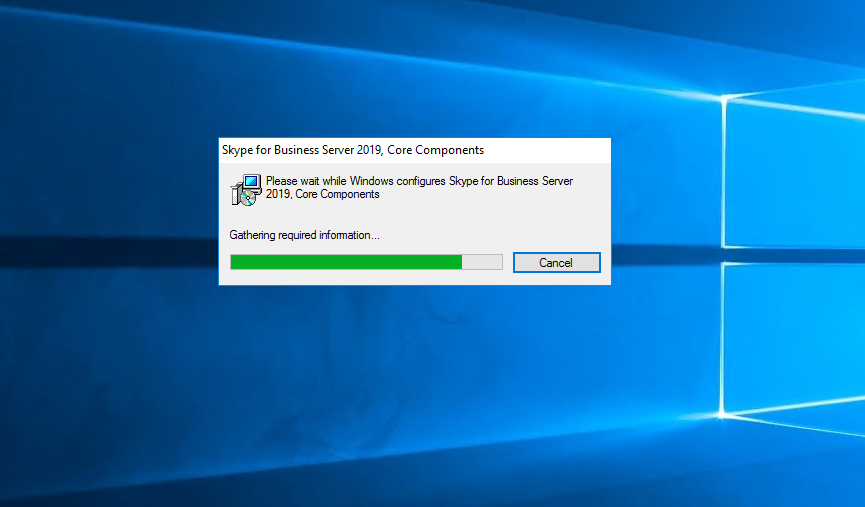
Once you click OK on End User License Agreement page, Skype for Business 2019, core components installation will begin:
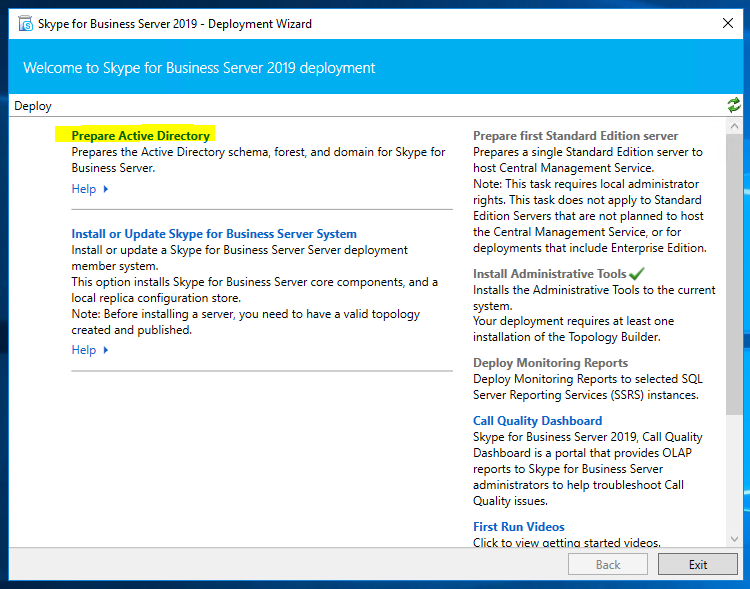
Setup will copy required core files in to your selected location and will open “Skype for Business Server 2019 – Deployment Wizard” window:
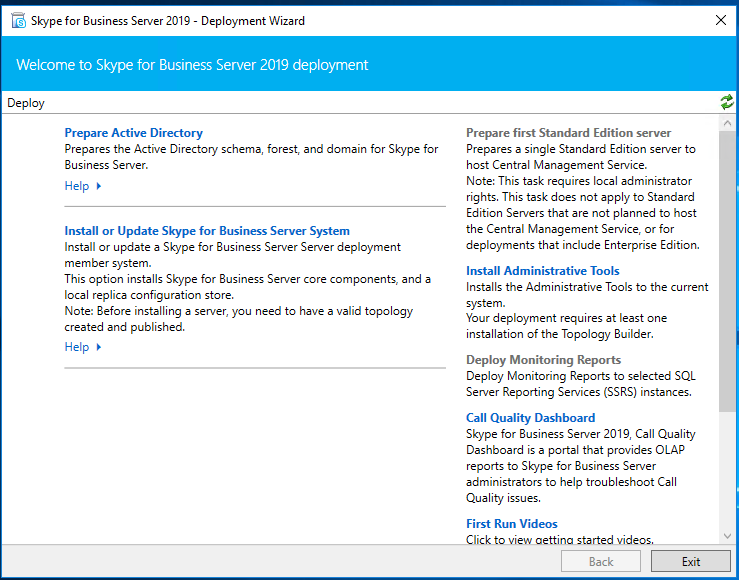
Above window has same options as we had in previous release (Skype for Business 2015) Active Directory, Install or Update Skype for Business Server System, prepare first Standard Edition Server, Install Administrative Tools, Call Quality Dashboard and link for First Run Videos.
I would go with installation of Administrative Tools first because it will install Topology Builder, Control Panel, PowerShell for Skype for Business and Deployment Wizard. All these tools will help to define new servers and run the software installation.
Click on “Install Administrative Tools”:

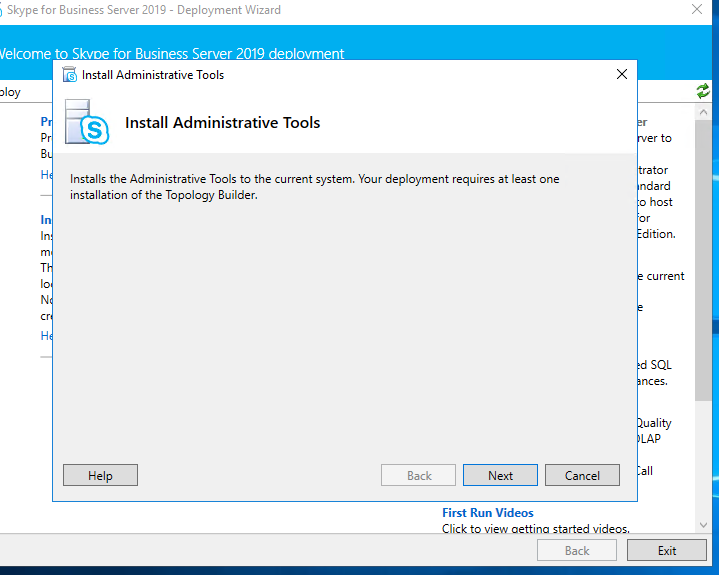
Once you click on Install Administrative Tools, setup wizard will open. Click Next button:

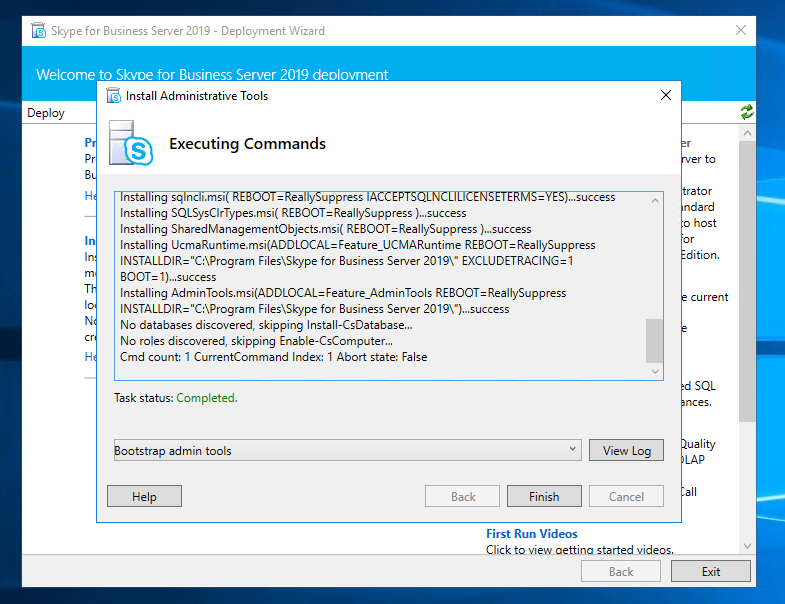
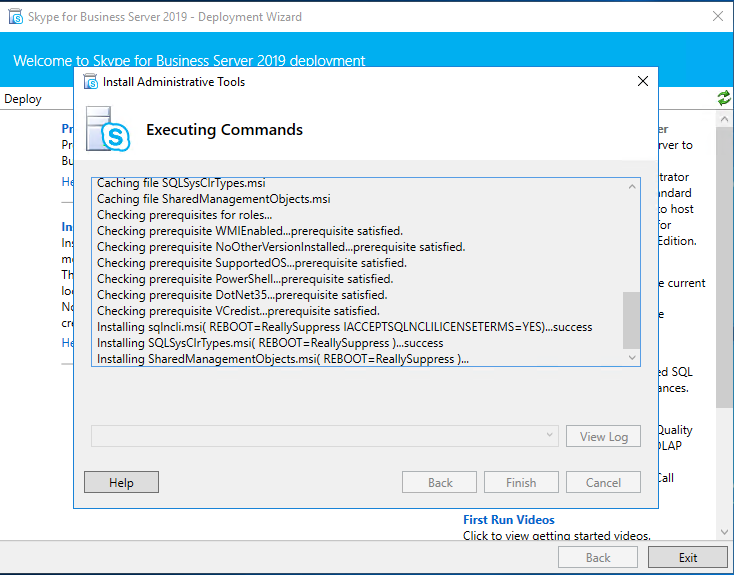
Once you click on Next button, setup will run certain executables in the background to deploy Admin tools into the system:

Execution may take some time which depends on your system hardware/software performance and once completed, it will show you Task Status Completed in green. You may click on Finish button now:
Once you click on Finish button on above given Administrative Tool wizard, you will come back to Deployment wizard window:

Here now we can see Prepare Active Directory is marked Completed and Install Administrative Tool marked Completed. In case of Active Directory or Domain level requirement not met, you may see Active Directory without marked and further action required:
Click on Install button.
Here we have End User License Agreement page, where Microsoft have mentioned terms conditions etc associated with this software, please read carefully and if you wish to proceed further click on the check box before “I accept the terms in the license agreement” and click on OK button:
Once you click OK on End User License Agreement page, Skype for Business 2019, core components installation will begin:

Setup will copy required core files in to your selected location and will open “Skype for Business Server 2019 – Deployment Wizard” window:

Above window has same options as we had in previous release (Skype for Business 2015) Active Directory, Install or Update Skype for Business Server System, prepare first Standard Edition Server, Install Administrative Tools, Call Quality Dashboard and link for First Run Videos.
I would go with installation of Administrative Tools first because it will install Topology Builder, Control Panel, PowerShell for Skype for Business and Deployment Wizard. All these tools will help to define new servers and run the software installation.
Click on “Install Administrative Tools”:

Once you click on Install Administrative Tools, setup wizard will open. Click Next button:
Once you click on Next button, setup will run certain executables in the background to deploy Admin tools into the system:
Execution may take some time which depends on your system hardware/software performance and once completed, it will show you Task Status Completed in green. You may click on Finish button now:

Once you click on Finish button on above given Administrative Tool wizard, you will come back to Deployment wizard window:

Here now we can see Prepare Active Directory is marked Complete and Install Administrative Tool marked Complete. In case of Active Directory or Domain level requirement not met, you may see Active Directory without tick marked and further admin action required to met the requirement:

Please continue reading…………… Part 3
In case you missed previous post, links given below:
Overview and Baseline preparation for Skype for Business Server 2019, Part-1

