

With the increasing number of remote teams due to today’s modern workplace era, virtual communication tools like Microsoft Teams have become essential for effective collaboration. However, using this tool can be challenging for some individuals.
This article provides a step-by-step guide on how to use Microsoft Teams for video conferencing and communication needs. It highlights the essential features and pricing of the tool to assist you in deciding if it is suitable for your team. Additionally, three tips are included to help you maximize the benefits of Microsoft Teams.
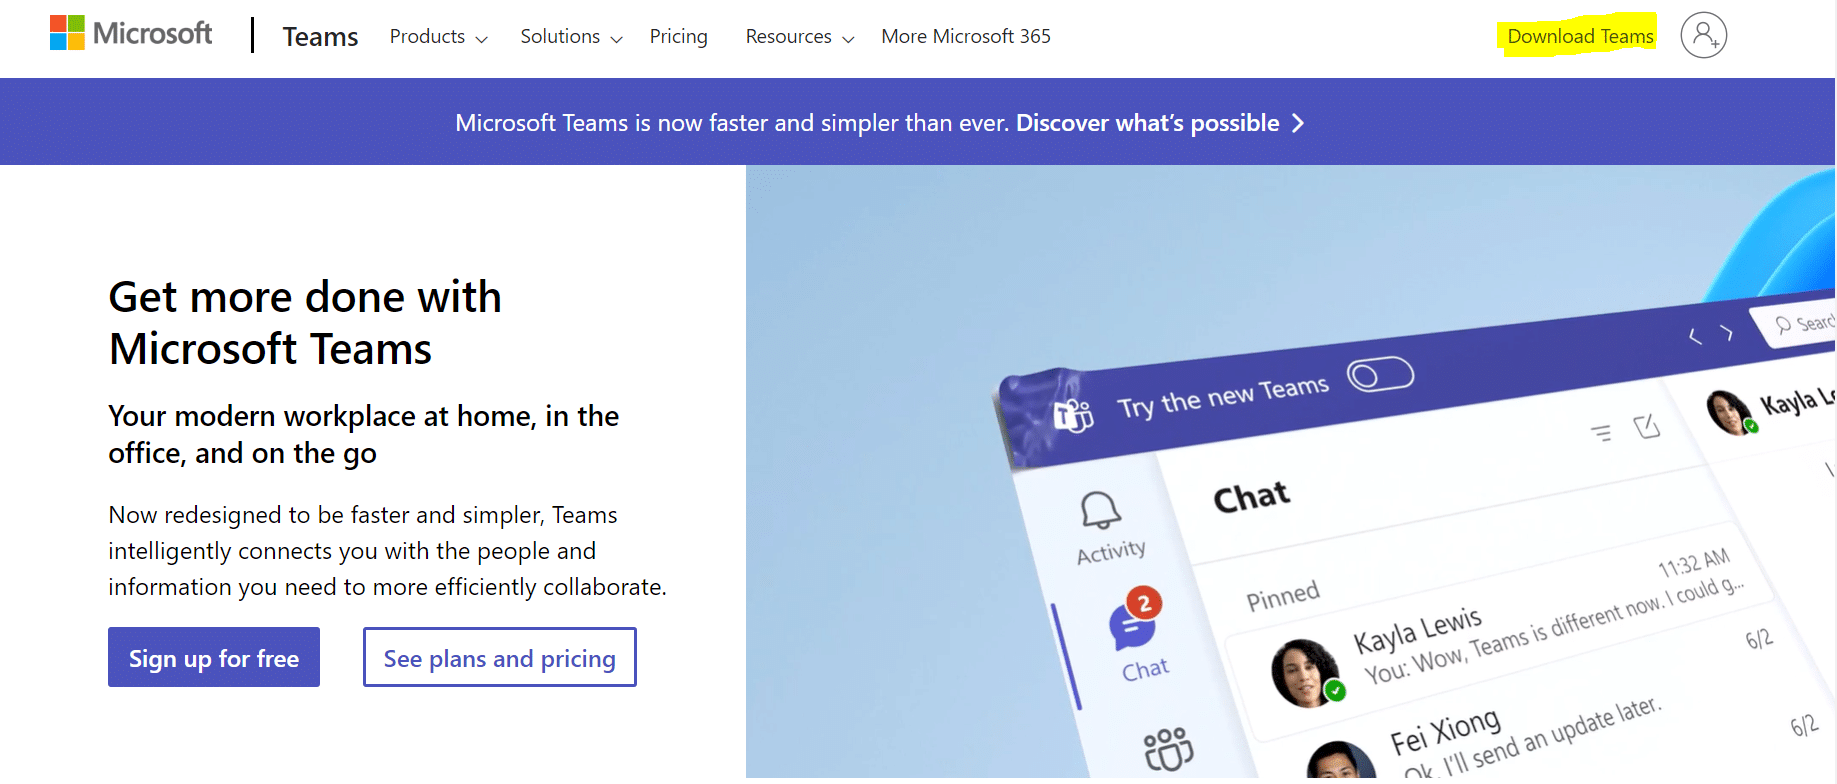
What is Microsoft Teams?

Teams can help you:
- You can create dedicated channels designed for specific tasks or teams with Teams.
- You can also record audio and video meetings using Teams.
- Another useful feature is that you can easily share your screen with team members to provide more detailed explanations.
- Teams also include a command box that allows you to search through archives quickly.
A Guide to Using Microsoft Teams: Step-by-Step
When your team is spread out, it is important to use a tool like Microsoft Teams to talk to them. When they are in different places, this can happen.
But it can be hard to use if you do not know how.
If you feel that way, do not worry!
To use Teams correctly, just follow a simple guide with easy steps. This will show you how to use Teams properly and easily.
Here you figure out how to use Microsoft Teams on your computer or phone. We will understand the following:
- Getting started with Microsoft Teams
- How to set up channels and teams
- How to get ready for video chats
- How to set up and plan talks.
Getting started with Microsoft Teams
Here is a step-by-step guide to help you get started with Microsoft Teams:
Create an account
A) For Desktop
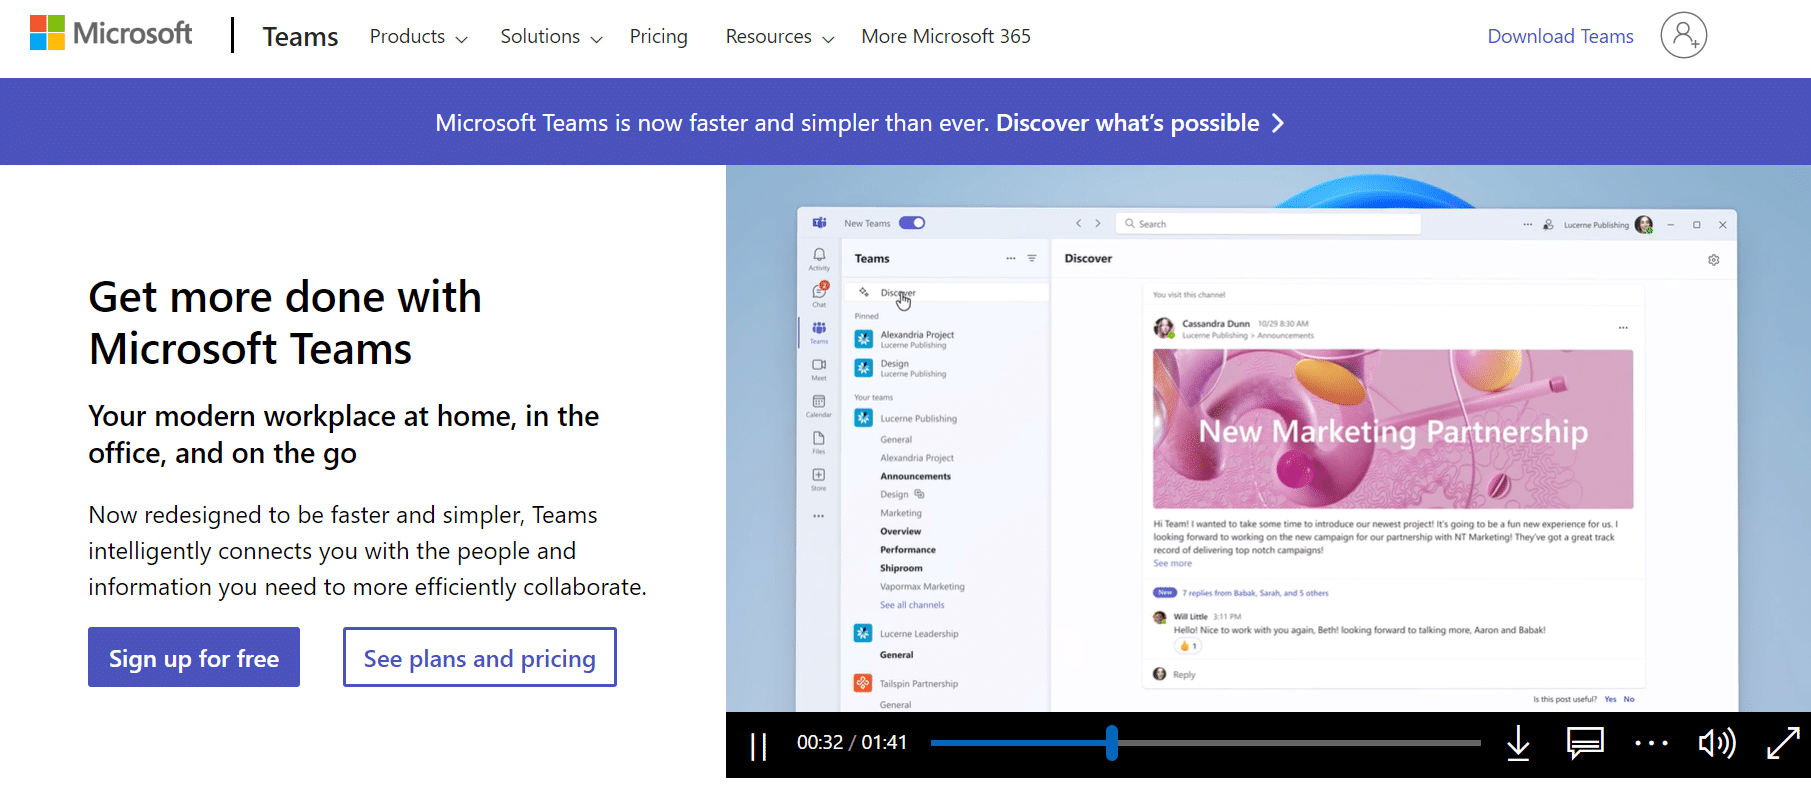
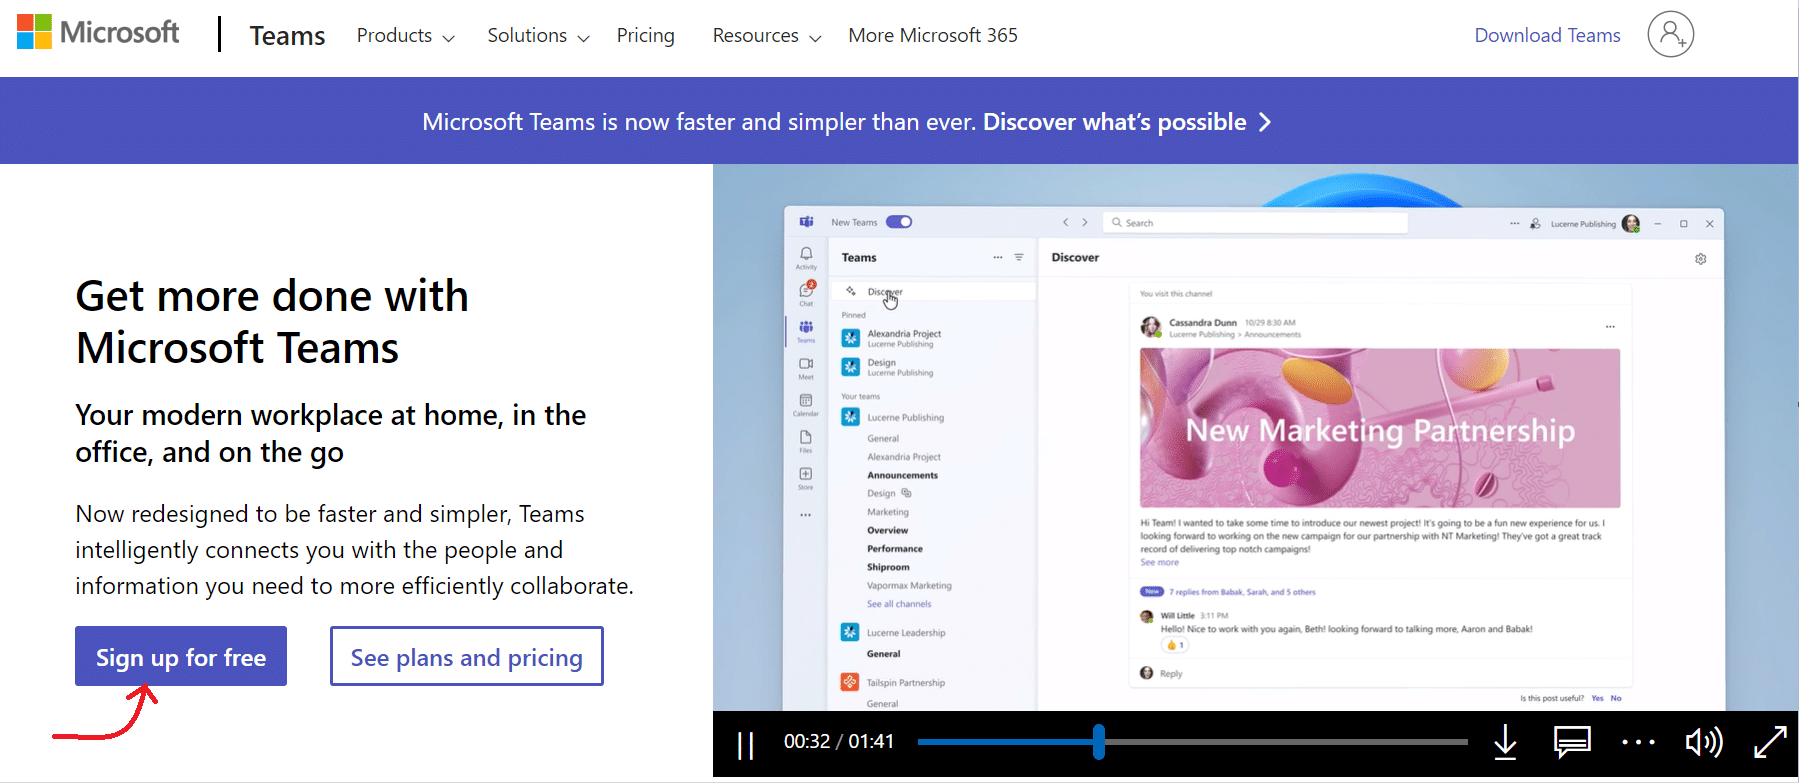
Step 1: Browse the Microsoft Teams website and click the “Sign up for free” button on the homepage.

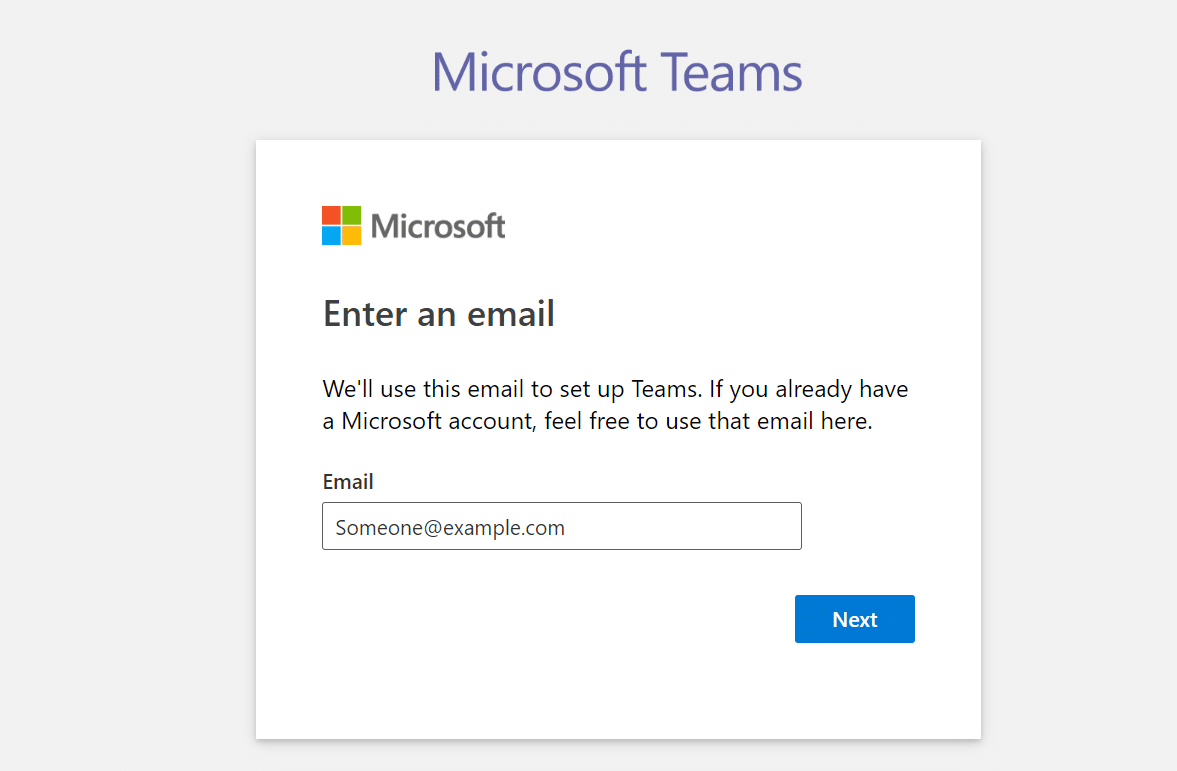
Step 2: A “Create One” window will appear; enter your email address and click “Next.”

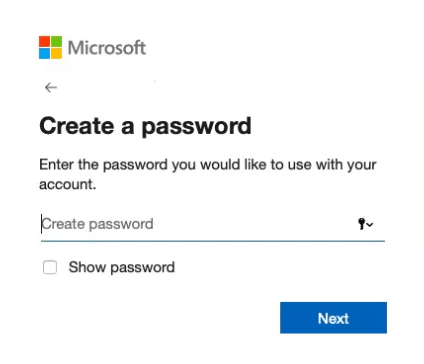
Step 3: Create a password by following the on-screen directions and entering your information on the following pages.

After providing your information and confirming your email, navigate to the Microsoft Teams homepage to utilize the Teams web application.
B) For Mobile
To establish a Microsoft account on your mobile device, download the application and adhere to the identical guidelines stated earlier.
Download the Microsoft Teams App
A) For Desktop
Step 1: To acquire the Microsoft Teams desktop application, revisit the Microsoft Teams webpage and select “Download Teams” at the top of your screen.

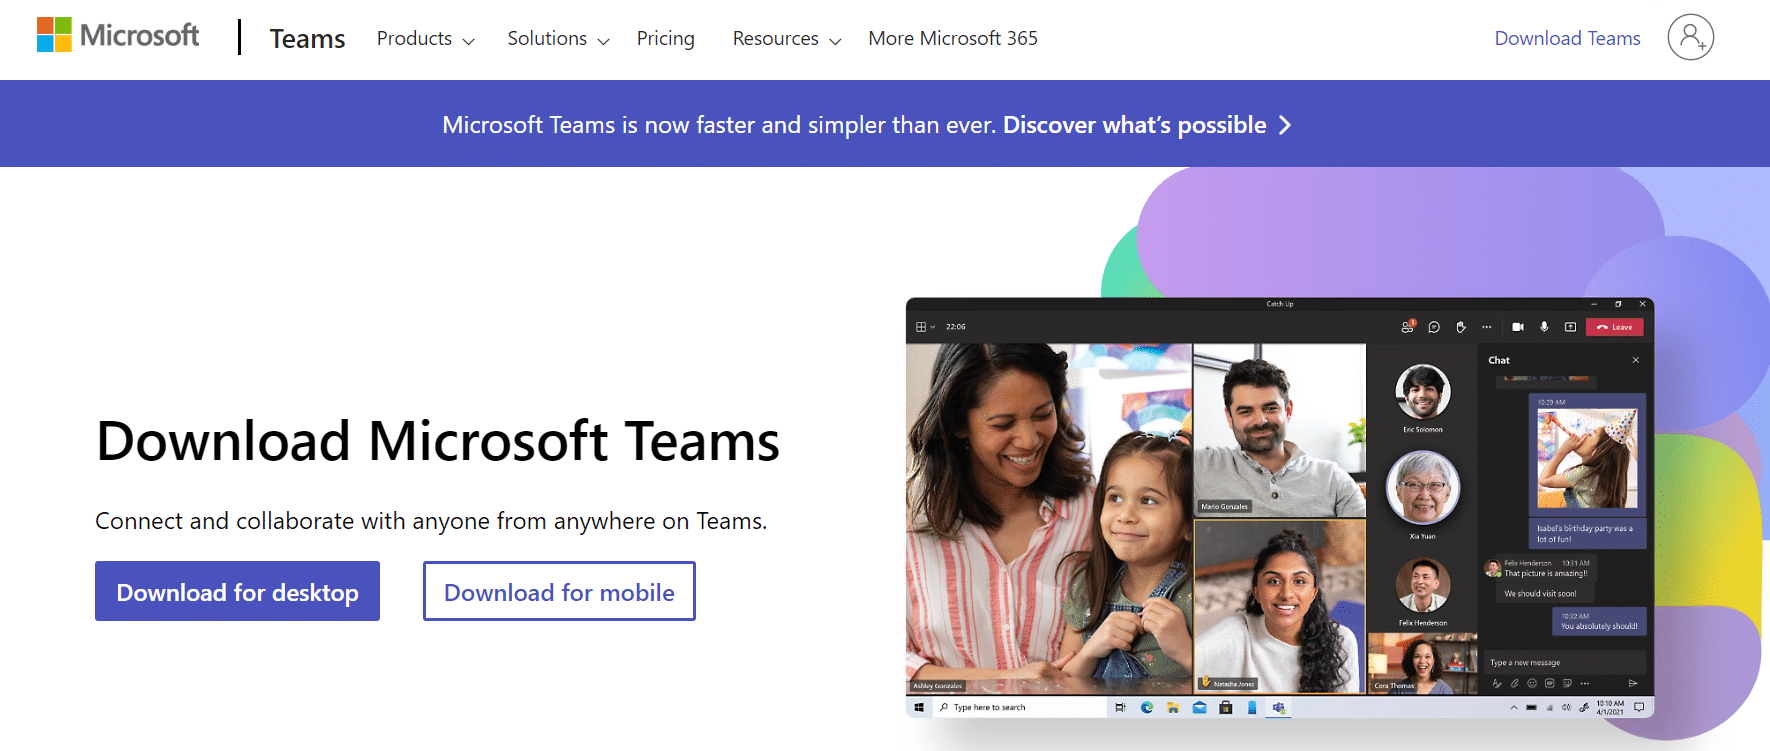

The link will be labeled as “Download Teams.”
Click on it to initiate the download process.
Step 3: Open the downloaded App and comply with the installation guidelines for Microsoft Teams.
B) For mobile
Step 1: To acquire the Microsoft Teams application, you can visit either the iOS App Store or the Google Play Store for Android.
Step 2: After the installation is complete, launch the Microsoft Teams app and sign into your Microsoft account to initiate the usage of Microsoft Teams.
How to create teams and channels
Within Microsoft Teams, a Team refers to a collective of individuals who work together on shared tasks and projects. Typically, a Team encompasses the entirety of an organization or a specific subgroup within it.
On the other hand, channels serve as distinct discussions that can be designated for a department, project, or task. They provide a way for more targeted conversations within the broader team collaboration space.
These are the instructions for creating teams and channels in Microsoft Teams:
Create a team
A) For Desktop
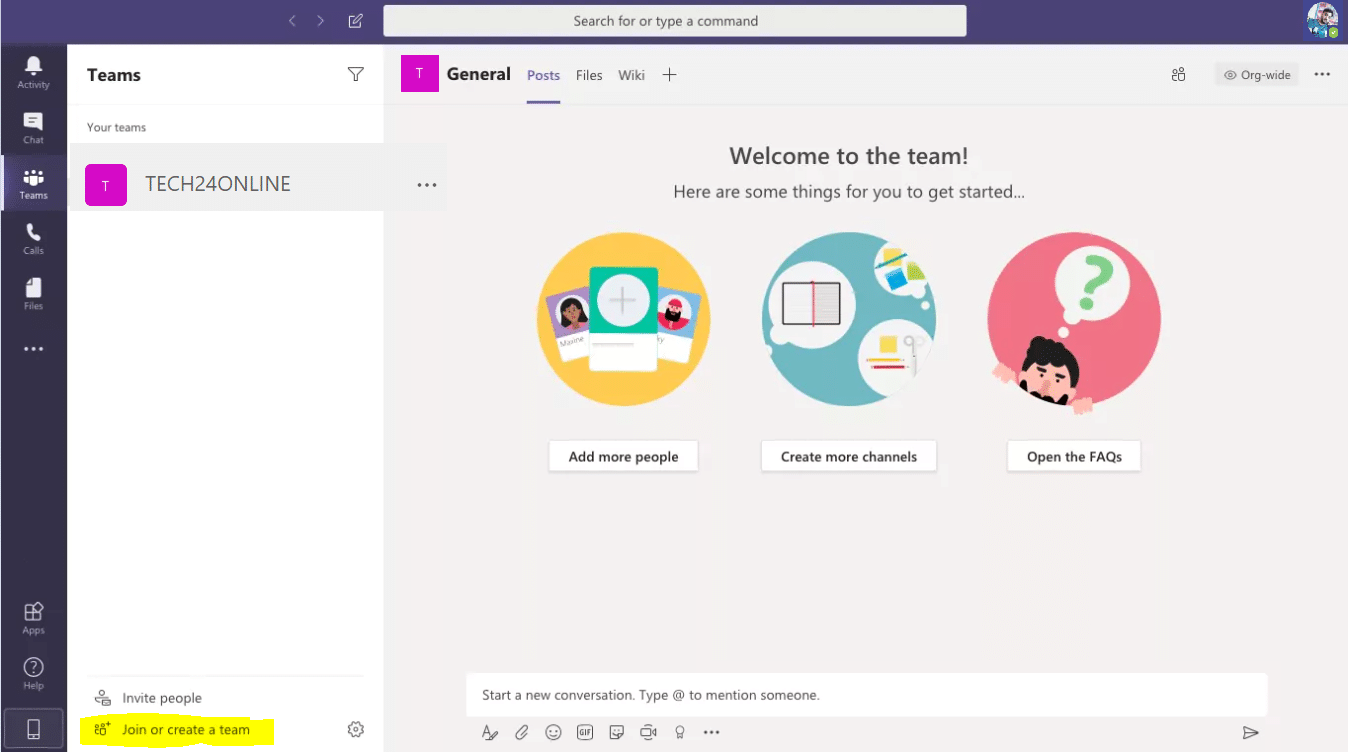
Step 1: To open the Microsoft Teams app and create a team, click on the “Join or create a team” option at the bottom of the Teams sidebar on the left.

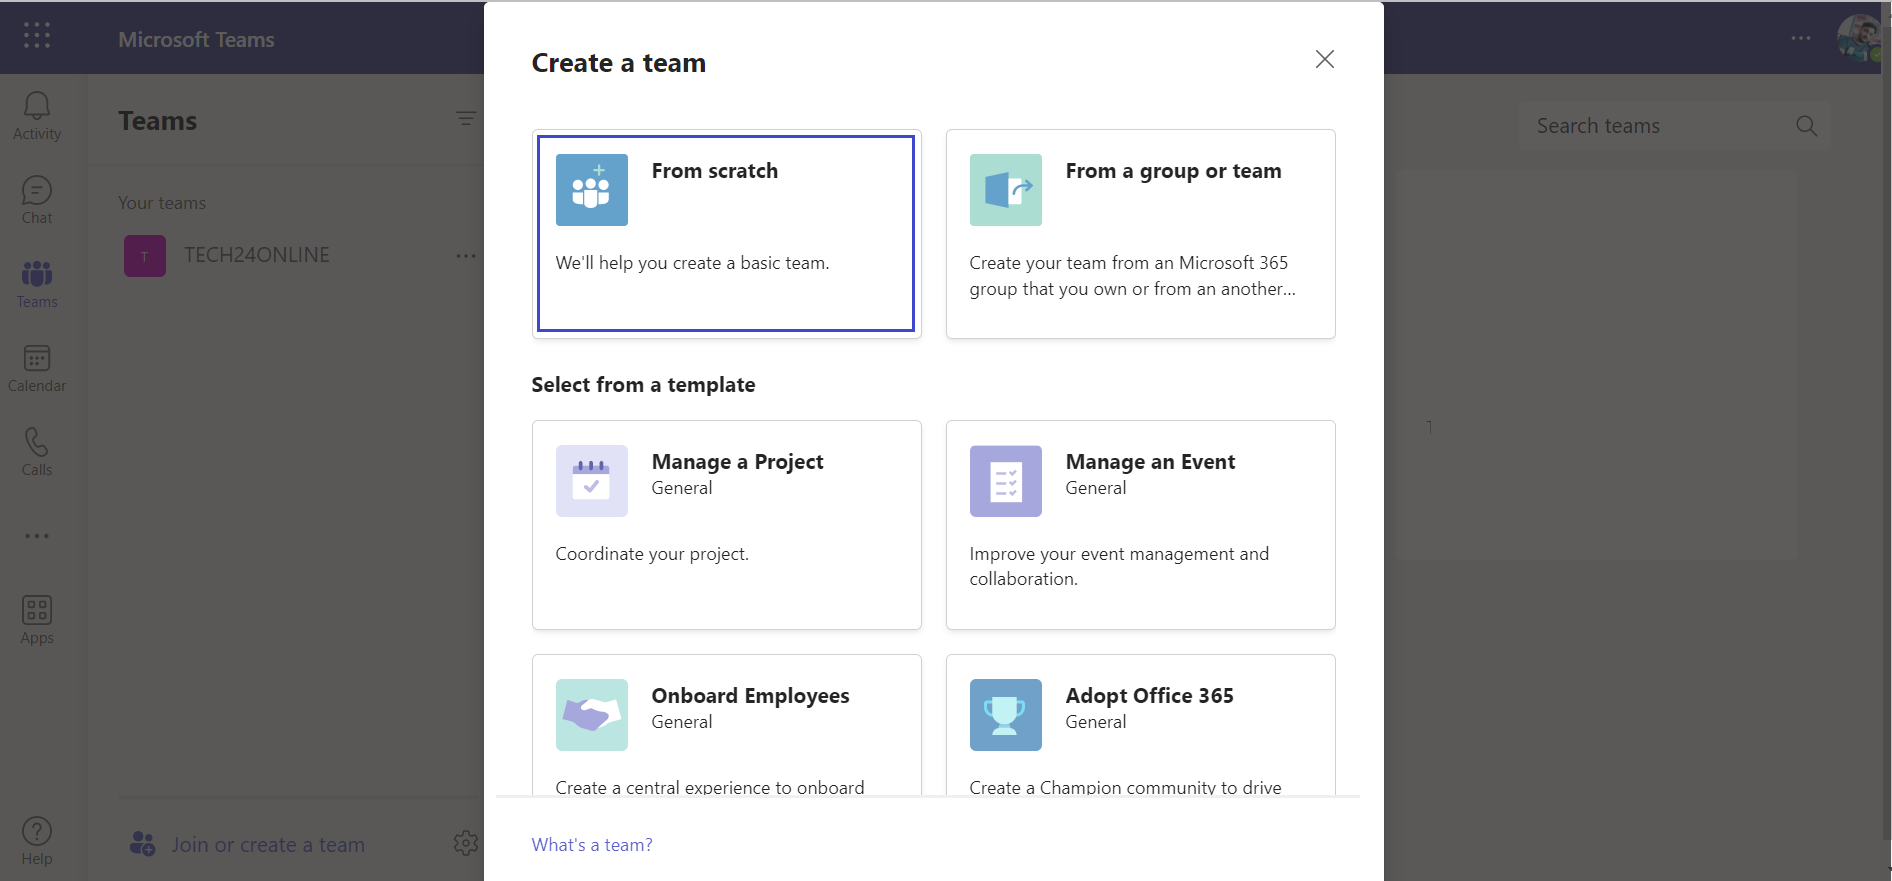
Step 2: Select the “Create team” button after the new screen appears.
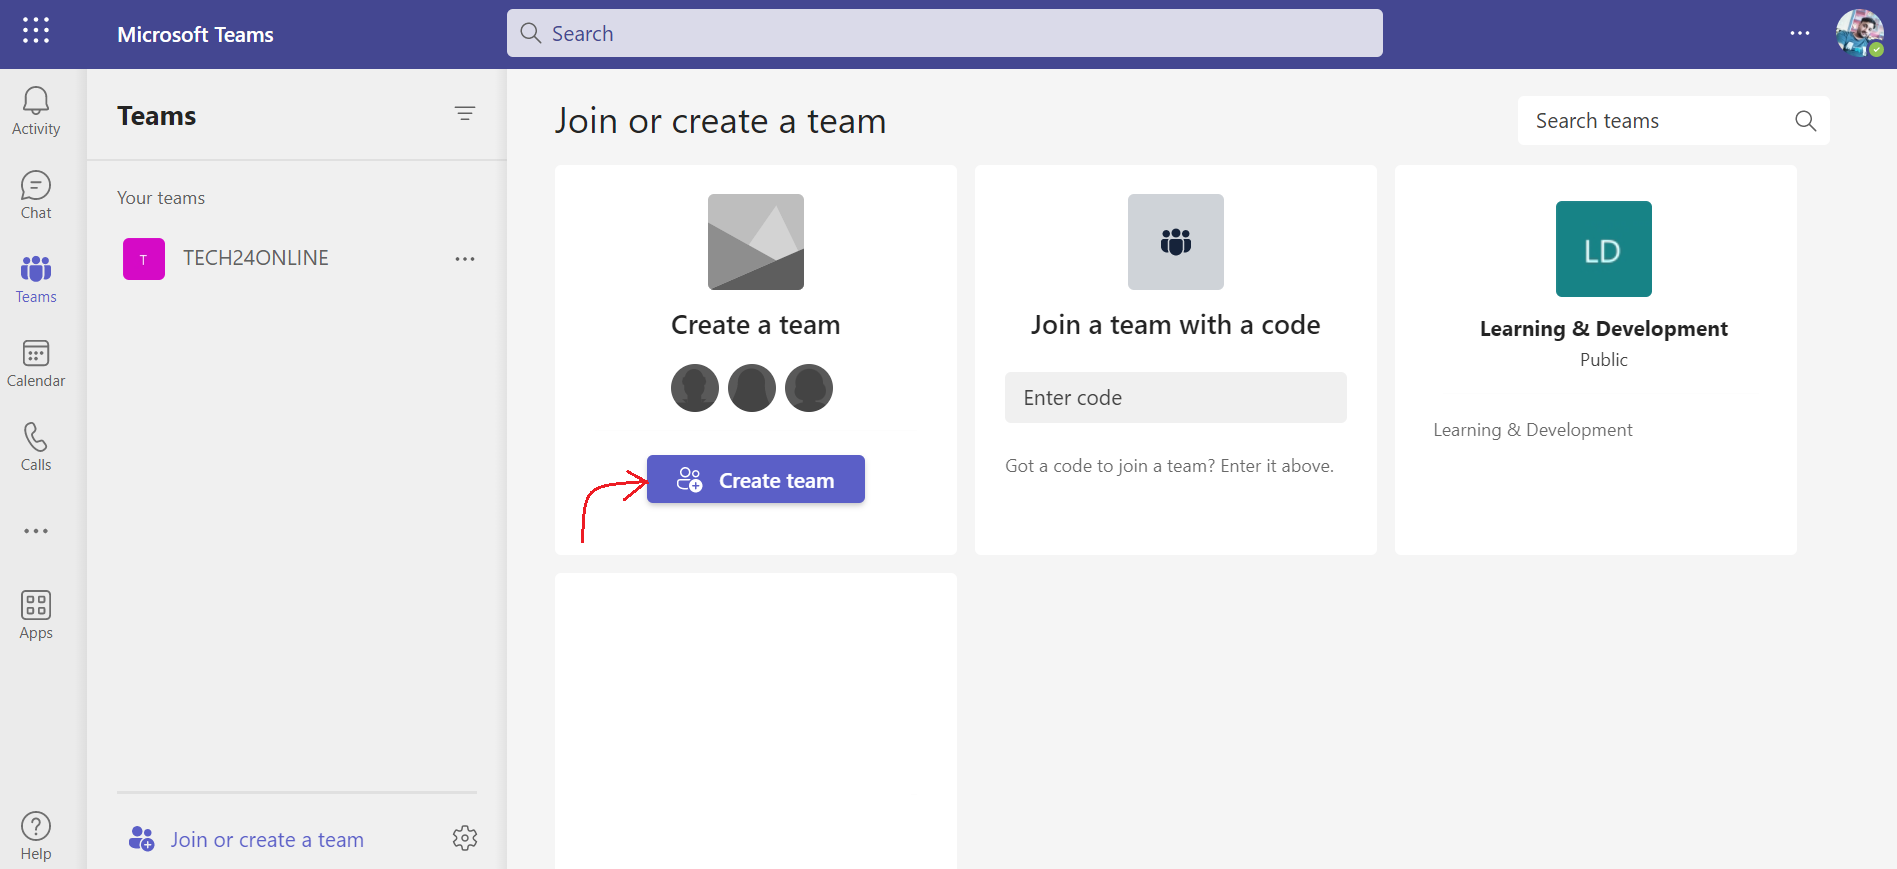

Step 3: On the next screen, you will have the option to choose:
- Build a team from scratch
- Create from an existing Office 365 group or Team
If your Team had already been using Office 365 before joining Teams, you might have pre-existing groups that can be added using the “Create from…” option.
If you do not have any pre-existing groups to add, you should choose “Build a team from scratch.”

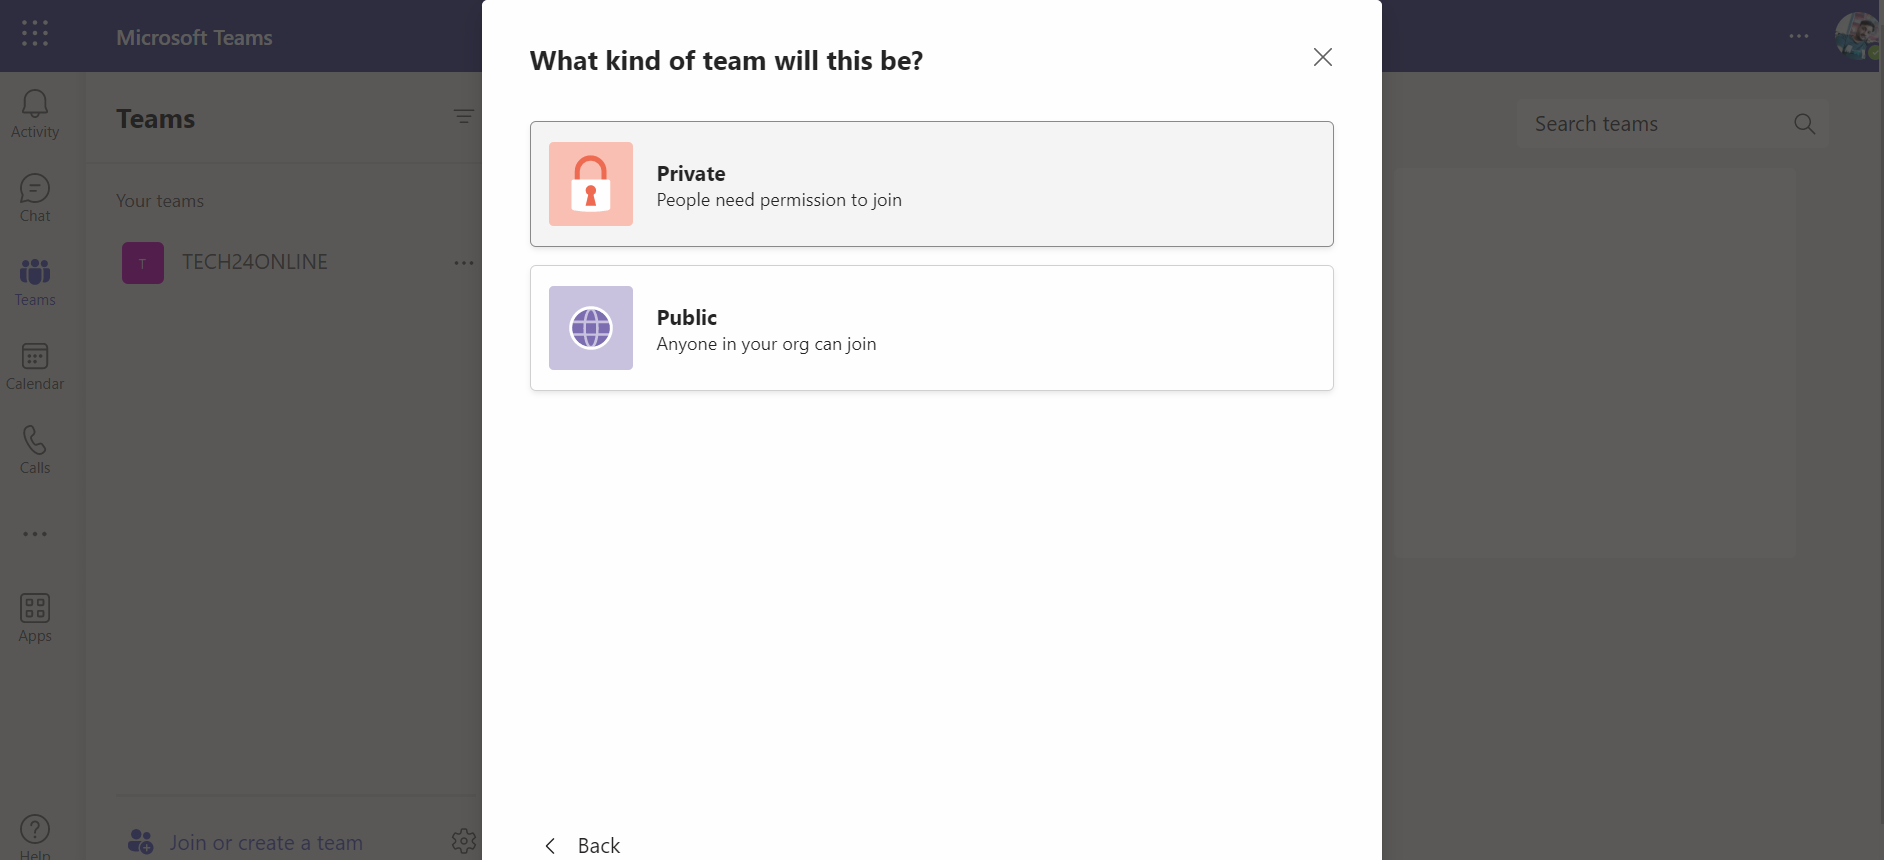
Step 4: Next, define who’s part of the Team.
Make your choice based on how you want to organize your platform:
- Private: This option is suitable if you want only a select few members to be part of the Team.
- Public: This is the best option if your team membership changes frequently.
- Org-Wide: If you want to host your entire organization as one Team on the platform and divide departments using channels, Org-Wide is the ideal choice.

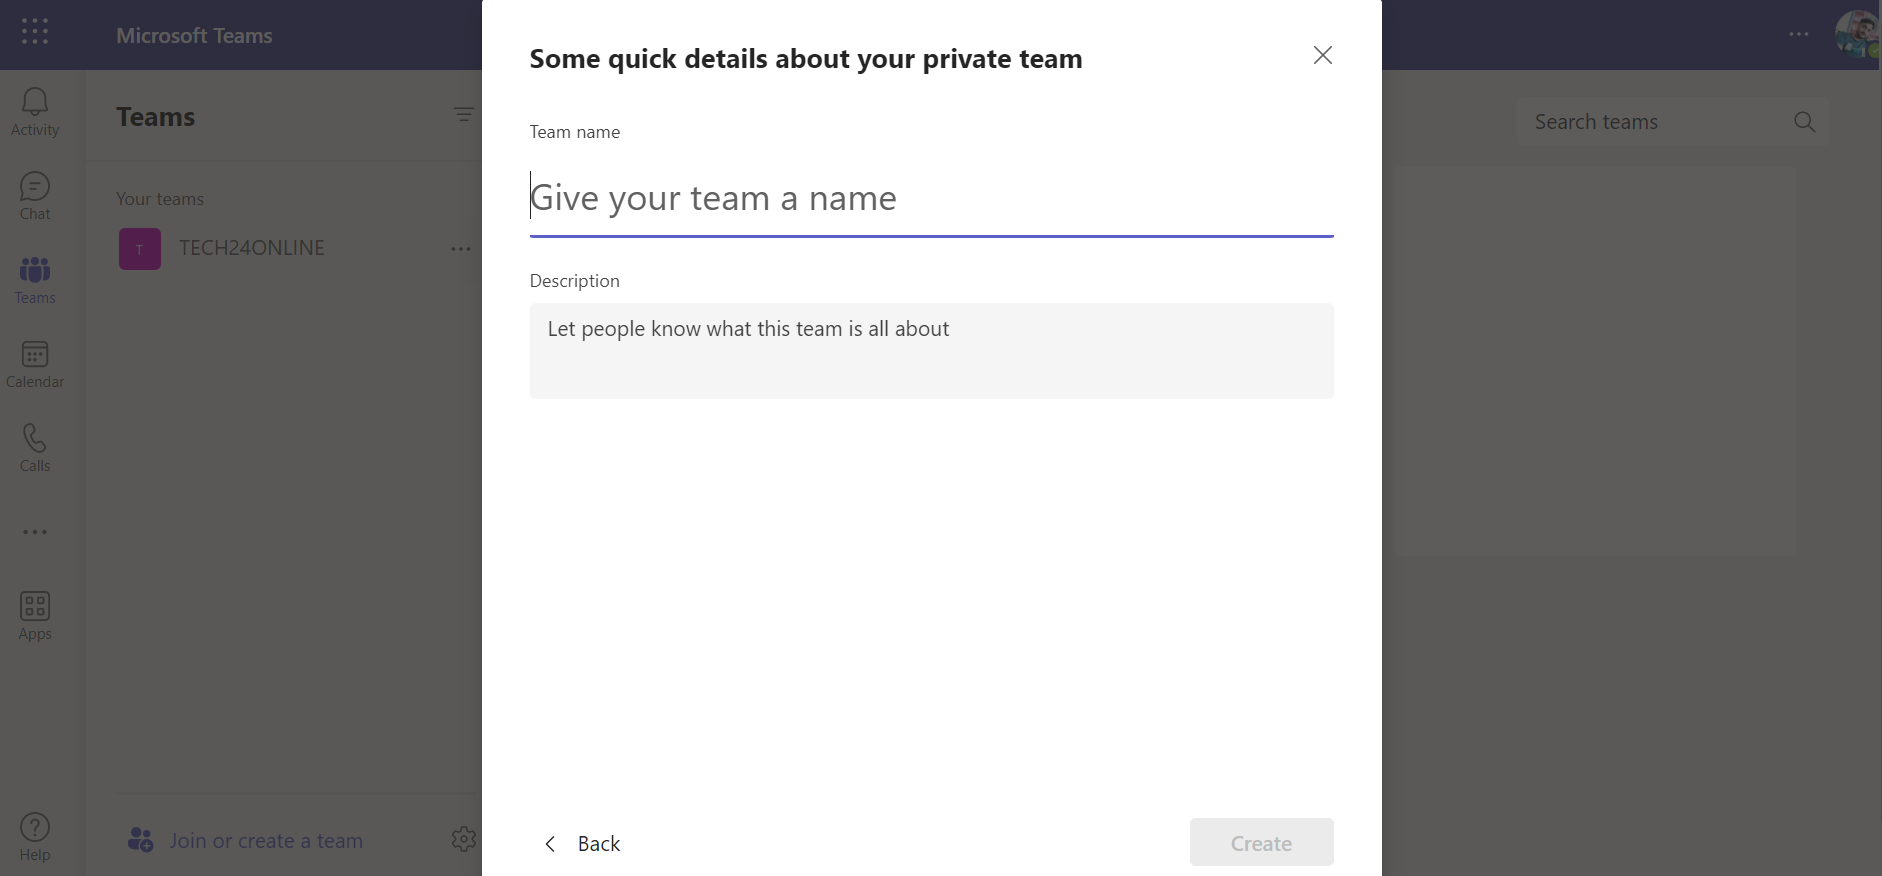
Step 5: Once you have chosen the type of Team you want to create, you need to give it a name.
Select an appropriate team name, such as “Marketing” or “Social Media,” and then click on the “Create” button located at the bottom right corner.

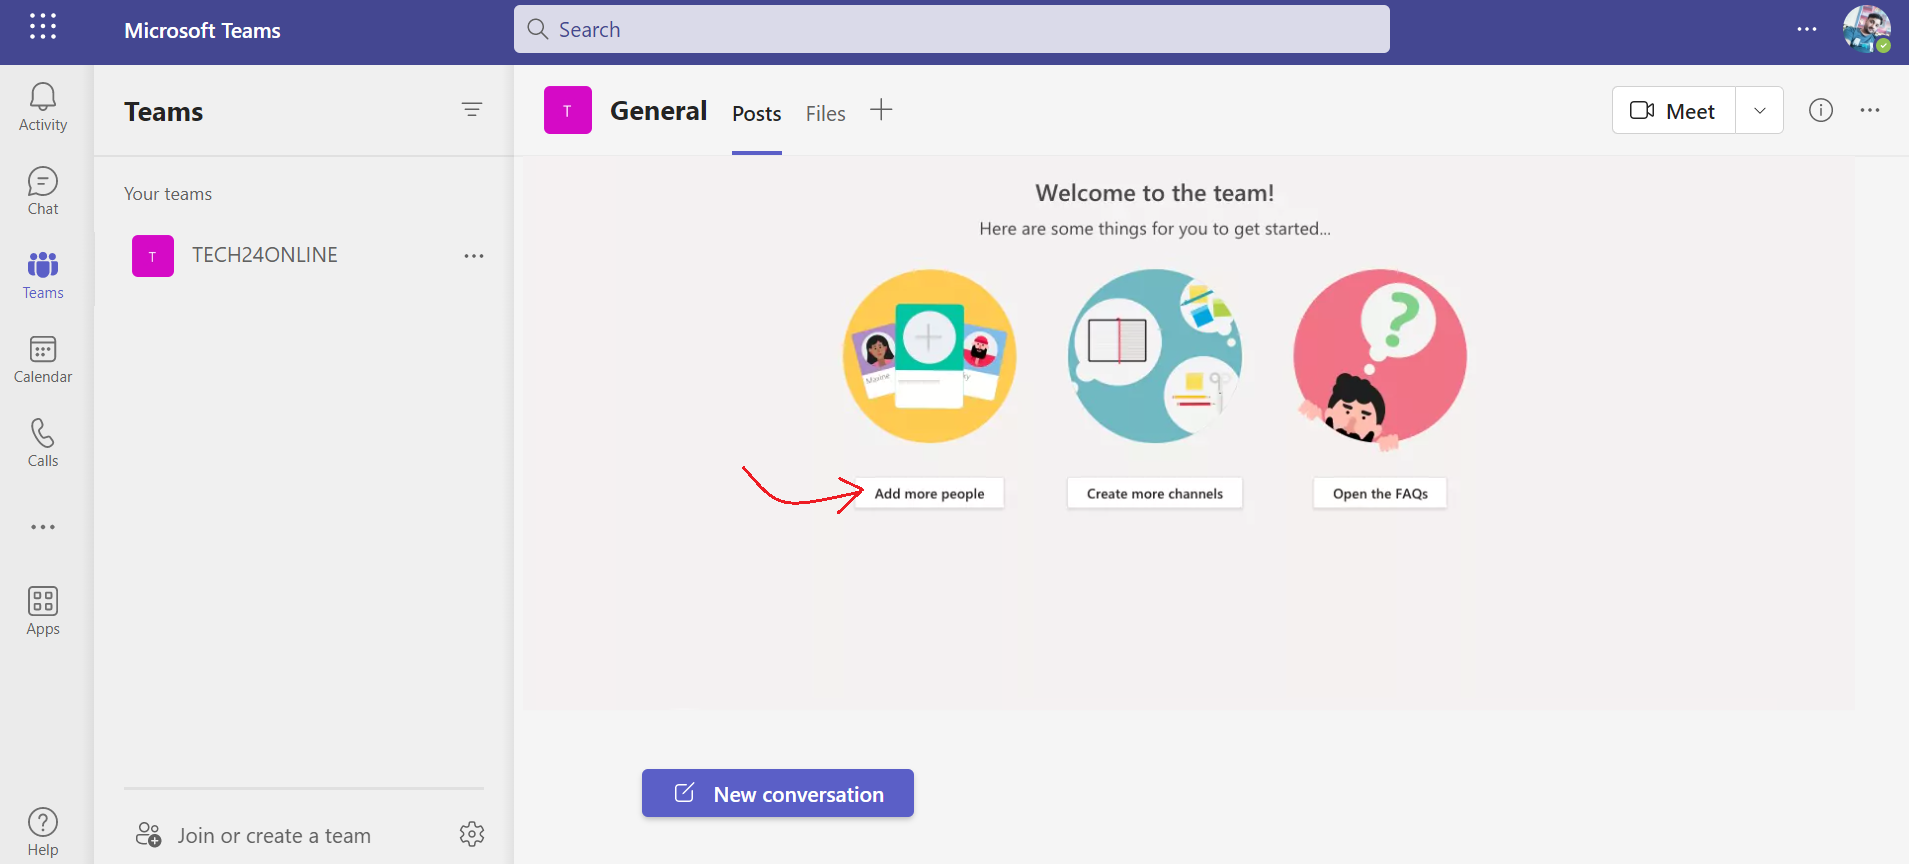
Step 6: After creating your new Team, you will now see it listed on the left sidebar of your Teams app.
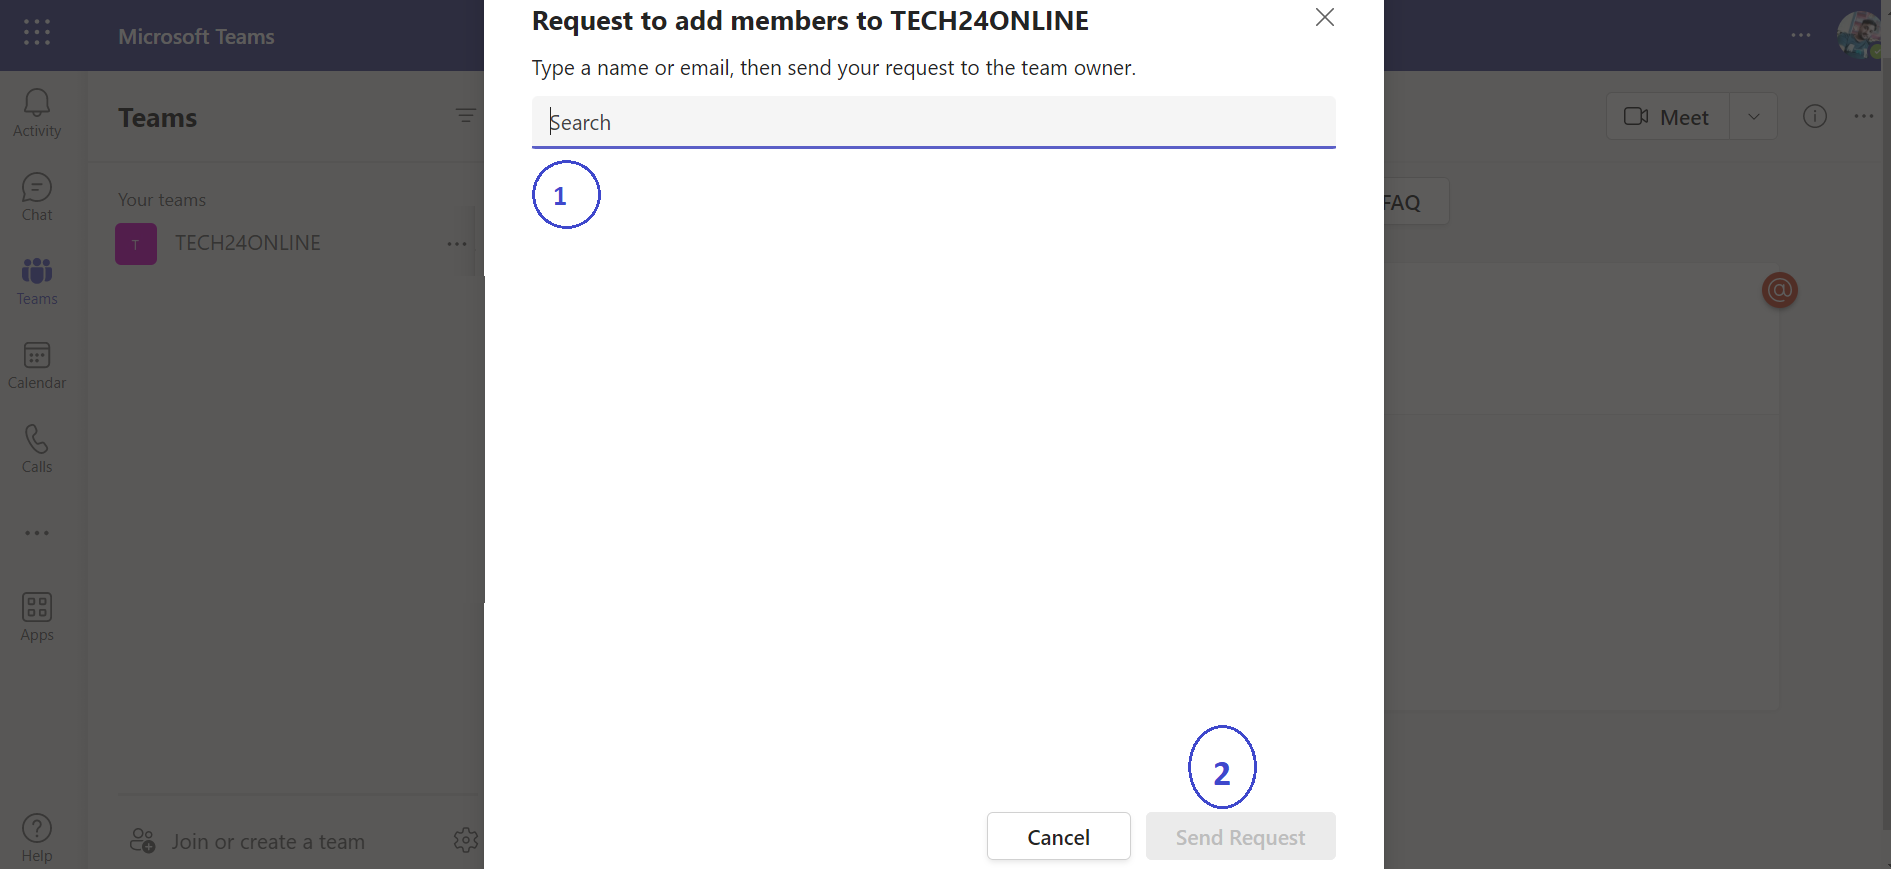
To include members in the Team, click the ellipsis next to the team name and then choose “Add member.”

Step 7: Enter the names of the members you wish to add.
If these members are “guests,” such as external users from outside your organization, you can grant them access by using their email addresses instead.

B) For mobile
Step 1: Launch the Microsoft Teams application.
Step 2: Click on the “Teams” icon at the bottom of your screen, and then click on the icon of “two people and a plus sign” in the upper right corner. This should lead you to the Manage Teams page.
Step 3: To set up your new Team, provide a name and description, and configure its privacy settings.
After creating the Team, tap on the “More options” icon that looks like three dots and then choose “Add members.” Enter the names of your desired team members to add them.
Note: To add groups of people or multiple individuals simultaneously, you will need to use the desktop or web application.
2. Create a channel
A) For Desktop
Now you have established a team; it is time to incorporate channels. Microsoft Teams automatically generates a general channel that includes all team members.
Here are the steps to create additional channels:
Step 1: Create a new channel in the desired Team by clicking on the three dots next to it and selecting the “Add channel” option.
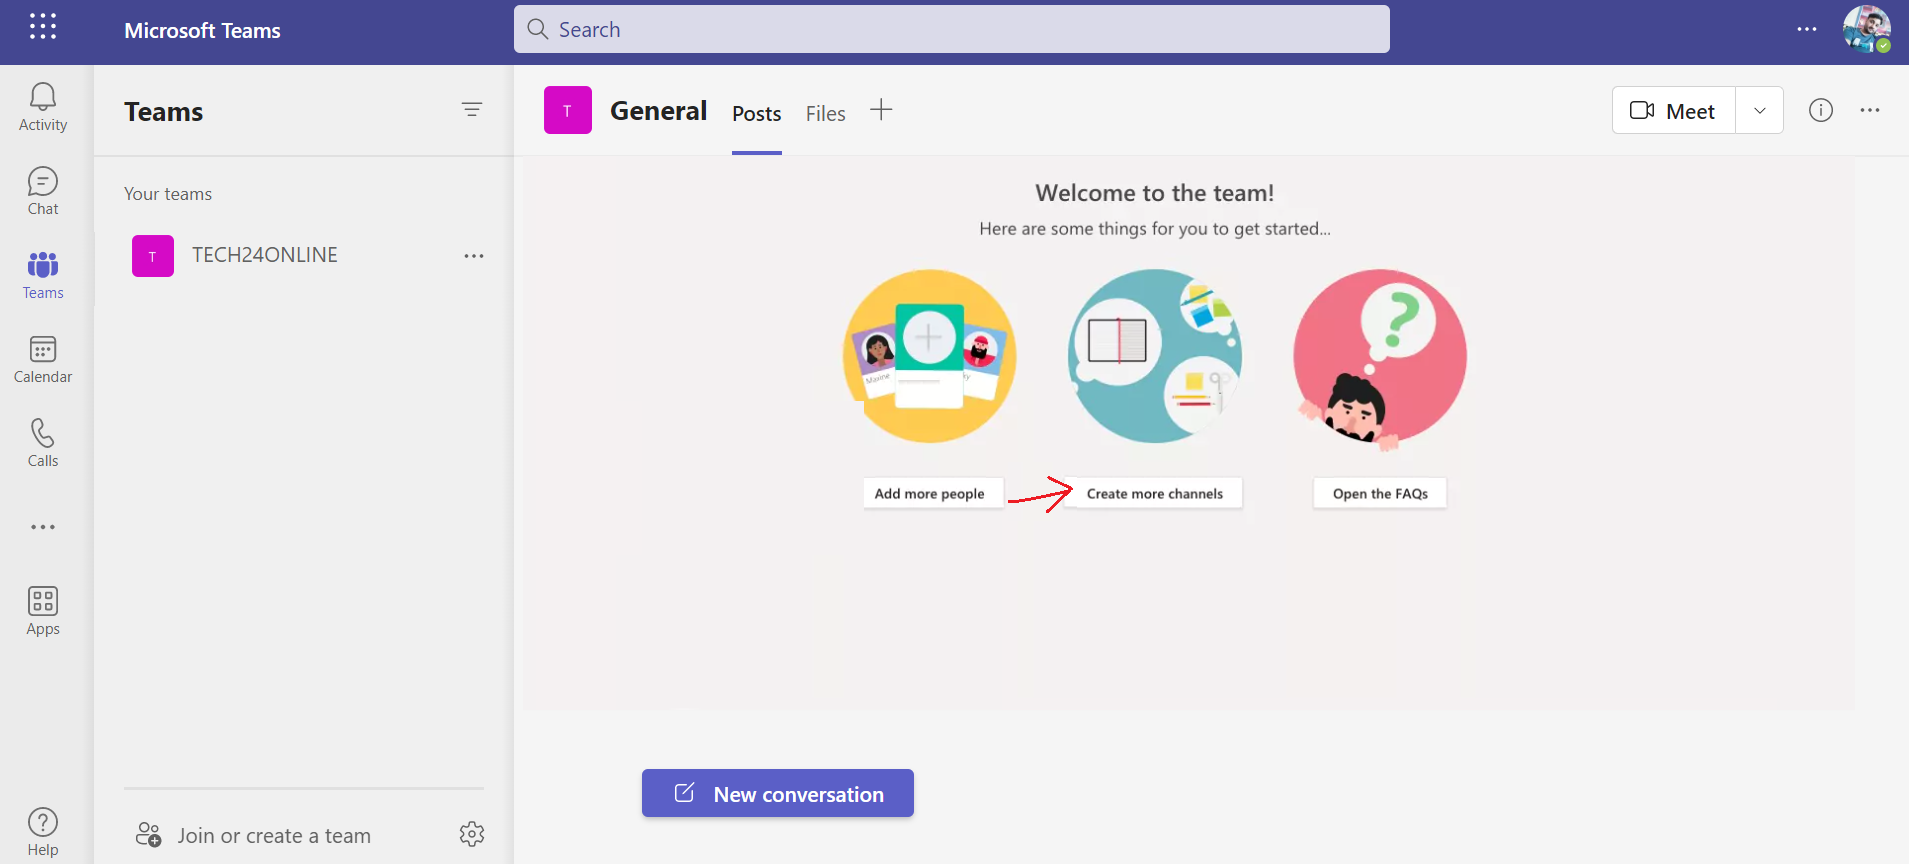
Step 2: After clicking on the “Add channel” option, a pop-up window will appear where you can:
- Choose a name for the channel.
- Add a description for the channel.
- Select the privacy settings for the channel, allowing access to every team member or only to selected members.
After configuring the channel settings, click the “Add” button to create the channel.

B) For mobile
Step 1: In the mobile app, click on the Teams icon at the bottom.
Step 2: Tap the three dots (“More options” icon) for the Team you want to add to the channel. Then, click on “Manage options.”
Step 3: Tap the “Add +” button to create a new channel. Then, enter a name for the channel and optionally add a description.
Step 4: To make a standard channel, tap “Done” after adding a name and description. For a private channel, select “Privacy,” choose “Private,” and then tap “Done” after adding a name and description.
Step 5: The “add members” screen will open automatically when creating a private channel. You can add members at this stage or skip this step and add members later.
How to configure video conferencing in Microsoft Teams
Microsoft Teams makes video conferencing extremely simple.
Here are the steps to follow for video conferencing with Microsoft Teams:
A) For Desktop
Step 1: To hold a video conference with a team/channel, open the Microsoft Teams app and navigate to the desired team/channel.
Click on the camera icon located below the message box.
Step 2: If desired, add a subject to the video call before starting. Then, click the “Meet now” button to begin the video conference.
Step 3: Once you start the video call, you will see a toolbar at the bottom of the screen. From there, you can turn your camera and microphone on/off, adjust the volume, and share your screen with everyone who joins the call.
B) For Mobile
Step 1: To initiate a video call, launch the Microsoft Teams mobile application and navigate to the chat where you wish to begin the call.
Step 2: Once you have selected the desired chat, simply tap the “Video call” option to commence the video call. Attendees can respond to the call using either their mobile device or desktop computer.
Now you have learned how to initiate video calls; you can conveniently conduct online meetings and discussions with your team members.
How to Schedule Meetings
For significant meetings that require the presence of all participants, it is advisable to schedule them beforehand. This will allow individuals to arrange their schedules accordingly and synchronize the meeting with their calendars.
Here is a guide on how to schedule meetings in Microsoft Teams:
A) For Desktop
Step 1: First, locate and select the “Schedule a Meeting” option, represented by a calendar icon below the compose box.
Step 2: Navigate to the “Calendar” section on the left-hand pane and select “New Meeting” at the top right corner to schedule a meeting in Microsoft Teams.
Step 3: After you have chosen a specific time range on the calendar, a form will appear to assist you in scheduling the meeting.
Step 4:
- Add a title for the meeting.
- Invite participants.
- Include any other necessary details.
Additionally, you can utilize the Scheduling Assistant tool to check the availability of all attendees.
Step 5: To finalize the process, click the “Save” button. Microsoft Teams will automatically send an invitation to each participant’s Outlook inbox.
B) For mobile
Step 1: Tap on the “Calendar” icon at the bottom of the interface and then select “Schedule a meeting” near the top-right corner of the screen.
Step 2: Tap the “Add participants” option to invite the necessary participants.
Step 3: Set the meeting’s designated start and end times, along with a brief description.
Step 4: Tap the “Done” button to finalize the scheduling process.
Conclusion:
Microsoft Teams is a valuable virtual communication and collaboration tool that has become increasingly important. With essential features like dedicated channels, screen sharing, and archive search functionality, it facilitates seamless connectivity and productivity for your team.
As Microsoft solution expert, I will assist you in implementing and seamlessly integrating Microsoft Teams into your work processes. Follow our step-by-step guide and tips to maximize the benefits of Teams, enabling effective collaboration with colleagues and efficient goal achievement.
With my expertise, I can help you harness the full potential of Microsoft Teams, elevating your remote work experience. Get in touch with me to explore the possibilities.